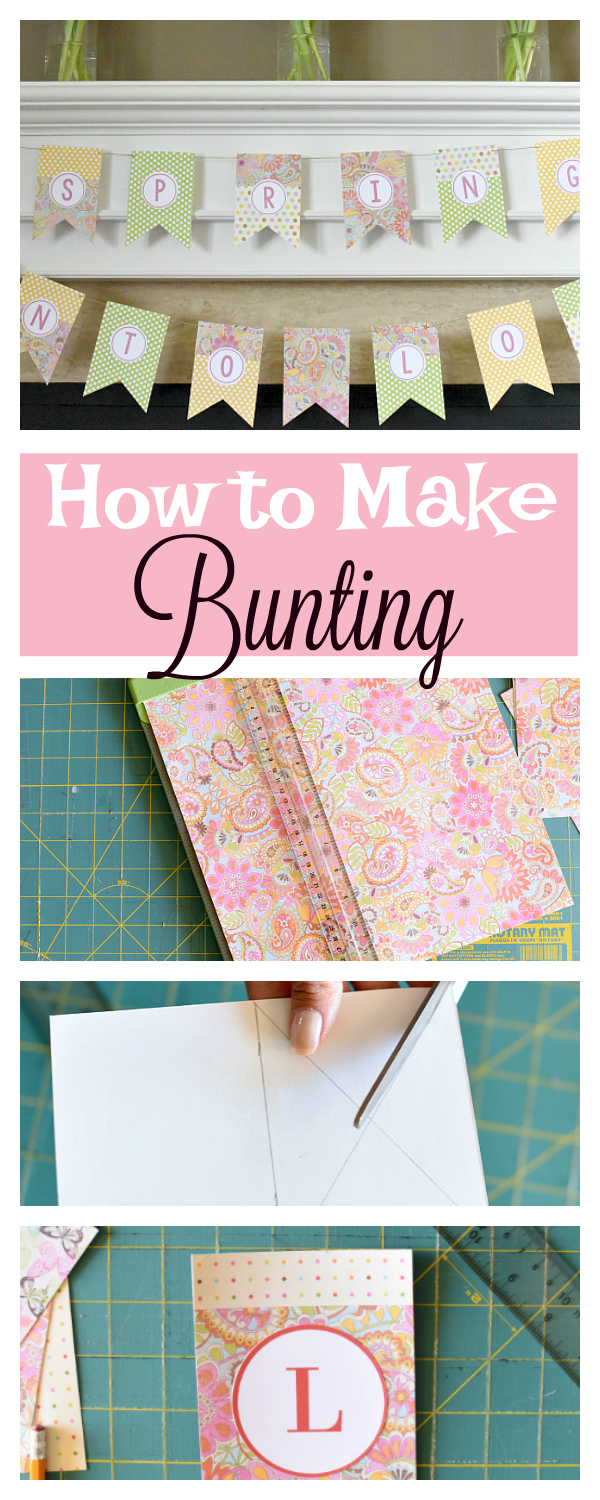
A Peek at the Fun: Wanting to add a little flair to your party? Learn how to make bunting in 5 easy steps to add a touch of fun for any party or holiday. You can make this paper bunting in any color, theme or combination you want and it’s easy!
Have you fallen in love with bunting yet? It’s such a fun and inexpensive way to add color and texture to your party decorations-no matter what the occasion.
Making your own bunting allows you to choose any colors, patterns, and phrases that works with your party. Bunting is so simple, just 5 easy steps and you will have the perfect addition for your next party. Here’s a super simple tutorial to teach you how to make bunting!
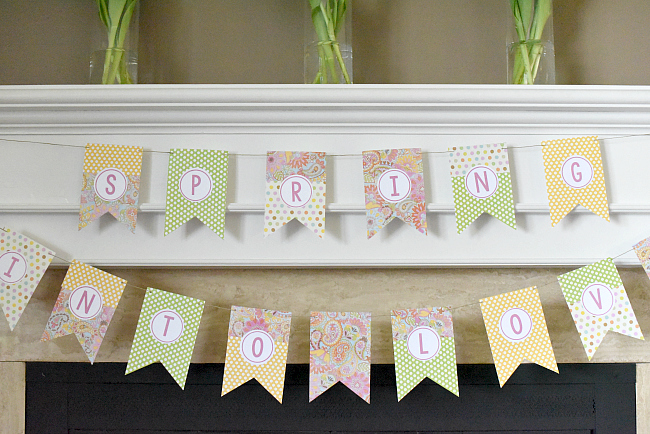
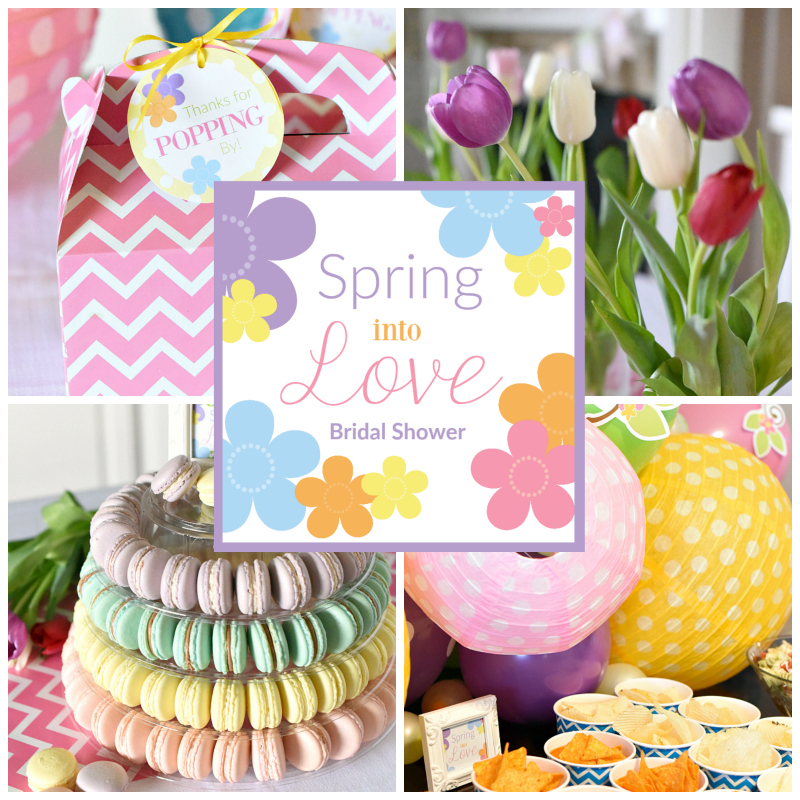
This was for a bridal shower but I’ve used it for football parties and birthday parties and holidays and other occasions! It’s super easy!
DIY Bunting in 5 Easy Steps:
Step 1- Choose your bunting paper!
Choose paper that matches the color scheme of your party, but don’t be afraid to add fun patterned pieces even if all of the colors aren’t exactly the same. Choose 4-5 different colors of paper so you have plenty of options to mix and match. Before you go to the store, decide how big you want your bunting and what it’s going to say so you can determine how many sheets of paper you will need. Consider where you plan to hang the bunting and what will fit in the space you have. You will want enough sheets to make your rectangles and some left over for embellishing the top.
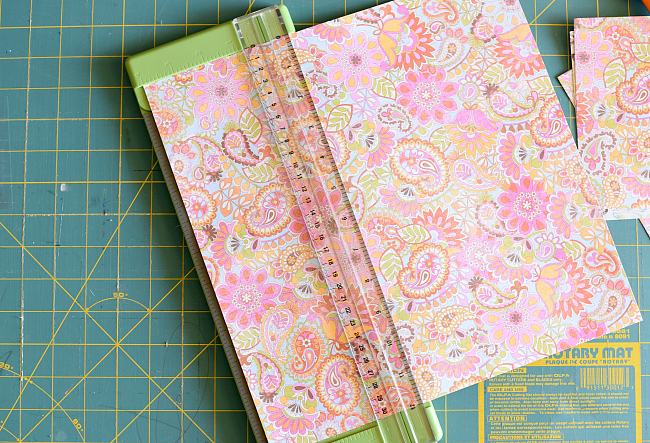
Step 2- Measure and Cut!
This bunting is measured as a 4×6. (You can use these steps for any size bunting you want, just always keep your shape a rectangle to allow for the bottom of the bunting to be cut). Measure and cut your paper to the size you need using all of the different colors you have.
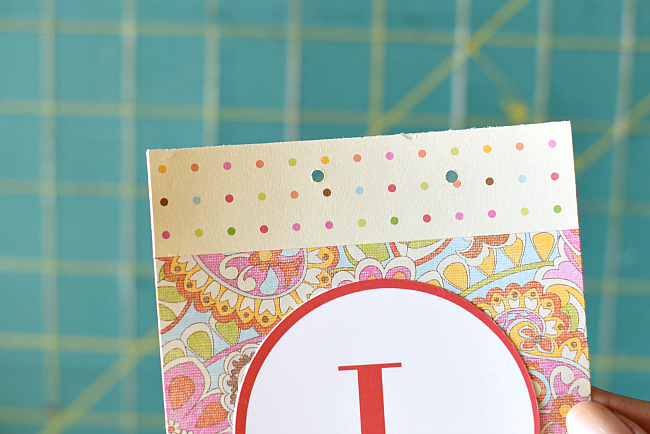
Cut strips for embellishing the tops of your bunting using all of the different colors of paper. These ones are 4×1 pieces. If you are making different sizes just determine what looks good.
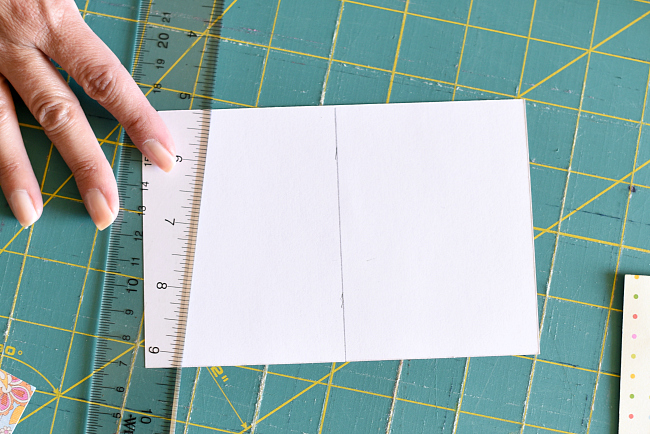
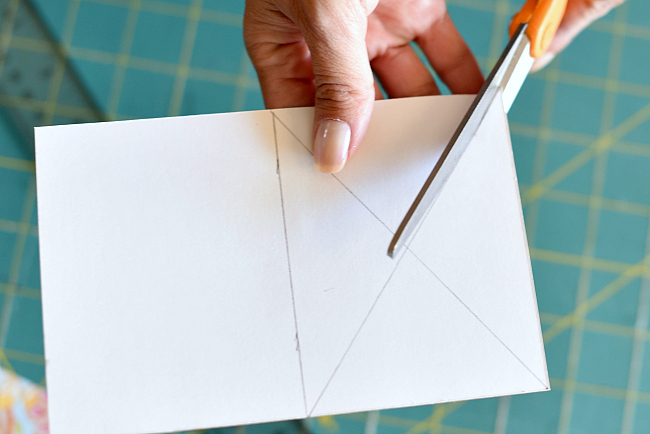
Step 3- Cutting the Triangle!
This same technique works regardless of the size of your bunting, so just follow the steps and it will turn out perfect every time!
Take your rectangle pieces and turn them on the backside. Measure the halfway point vertically in two places on the paper and then draw a straight line across them. This ensures you will have a straight line.
Using one of the half sides, draw a line diagonally from each corner. Do the adjacent corner, creating a criss-cross pattern (shown below).
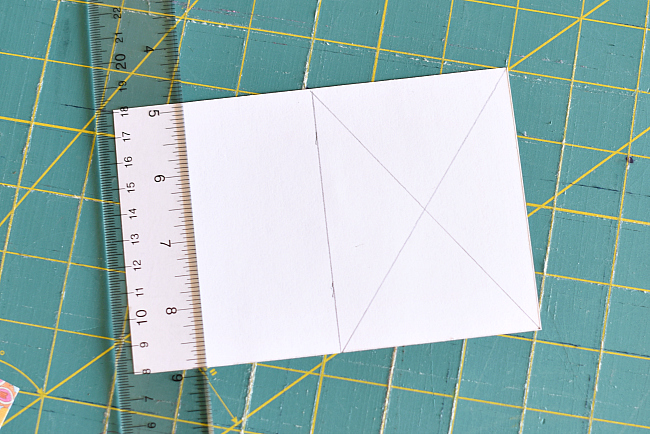
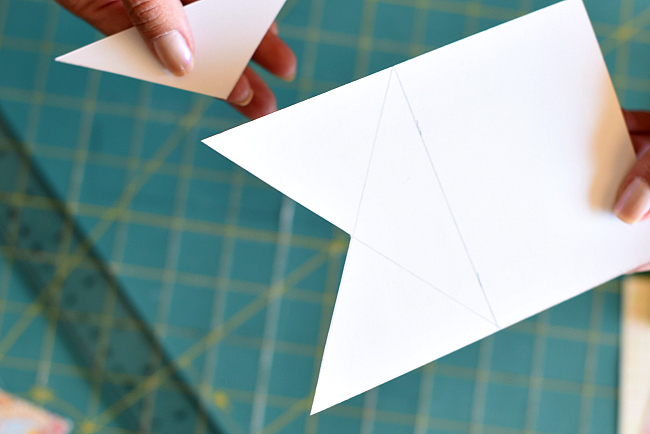
Cut out the bottom triangle.
You should have a perfect triangle cut from the bottom of your bunting!
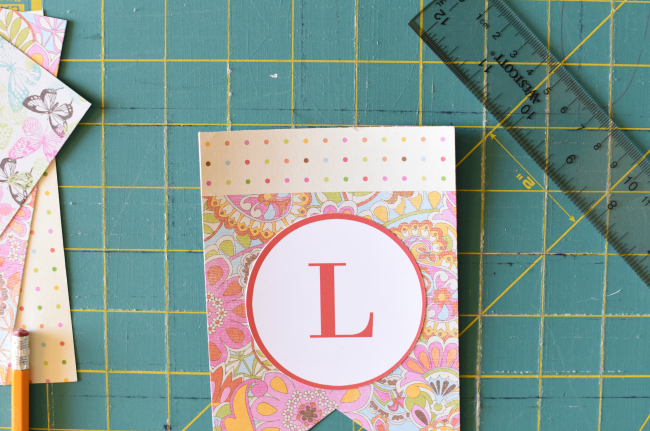
Step 4- Cut out Your Bunting Letters and Glue Together!
I have made it super simple for you and have some letters all ready to use on your bunting. I’ve got a full alphabet that you can save to your computer and print to put on your DIY bunting! These letters are sized at 3 inches.
Get the printable bunting letters here.
Here’s a sample of what they look like:
Once you have your bunting letters printed, cut them out and you’re ready to start to assemble your bunting. Arrange your rectangles in the pattern you wish for them to be and spell out your phrase. Once you have everything arranged, take your strips of paper and start to randomly place them on the top of your rectangles. This bunting only has strips on every other rectangle, but there’s no wrong or right here…so get creative! Glue all of the letters and strips to your rectangle pieces.
Step 5- Hole Punch and String!
Using a hole punch (used a small hole punch on these) punch two holes in the top of your bunting. Make sure you don’t get them too close to the edge of the paper or they will be easier to tear through.
String your bunting together starting with the last letter and working your way to the first letter.
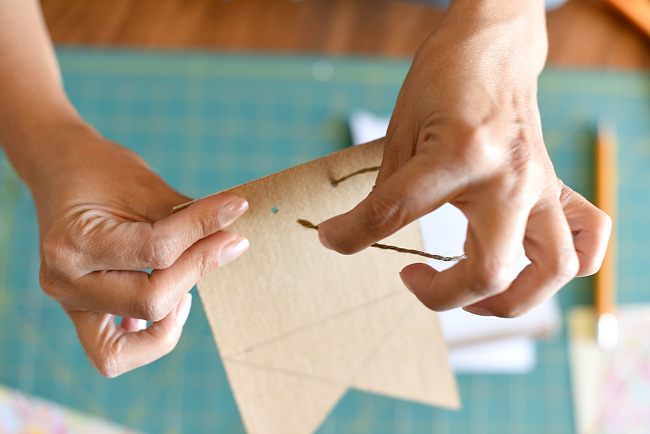 When you are stringing your bunting, make sure to keep the string going in and out of each rectangle piece the same way. This will give you a uniformed look when your project is completed.
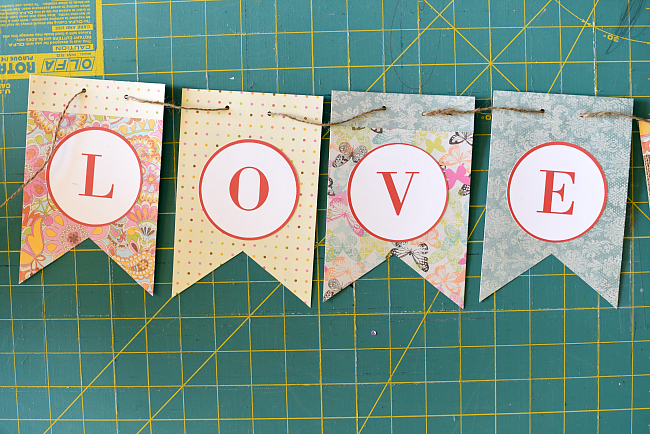
Such a fun addition to your next party!!
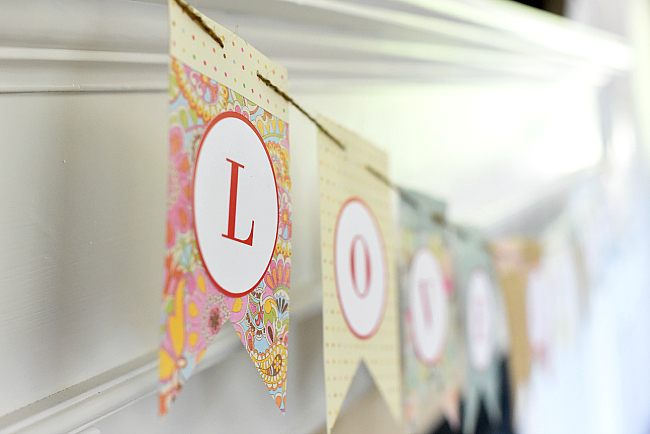
Have FUN making bunting!
You Might Also Like:
Pin It:
Leave a Reply