A Peek at the Fun: This easy to follow PicMonkey tutorial will walk you through how to personalize and customize your invitations or gift tags with this easy online editor.
I offer lots of fun free printable invitations and other party printables, but sometimes you’re going to want to customize them to fit your party. I love to use PicMonkey to edit images and personalize invitations and I’ve got a PicMonkey tutorial today to help you through it.
Let us walk you through the process of customizing these printables using PicMonkey, an online editing program that will make it quick and easy for you to make them perfect.
If you haven’t used PicMonkey yet, you’re going to love it! It’s so easy to use and it’s online, so you can access it anywhere.
Go to PicMonkey.com to get started. (Affiliate Link) They have a free version or you can upgrade to the fancy version for just $5 a month. I use the upgrade version because it allows me to have more font options and design options and it’s totally worth the $5 to me!
Before you get to PicMonkey to edit, you should have saved the image to your computer somewhere.
When you get to PicMonkey here is what you will see:
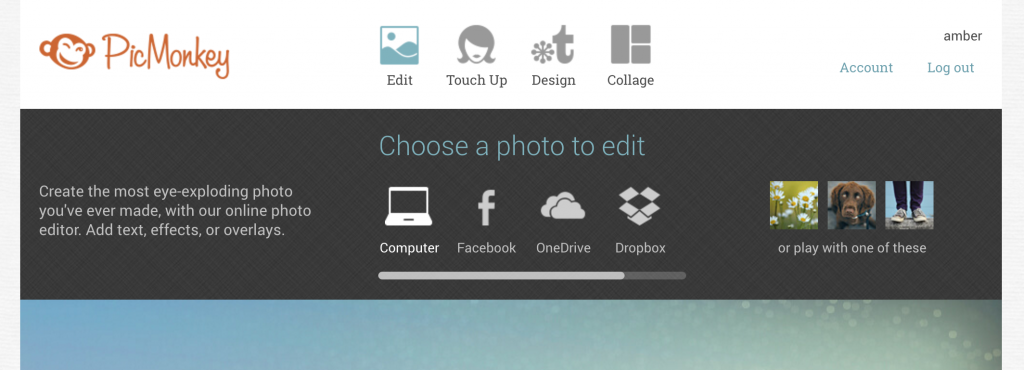
Select Edit and then choose your photo to edit from your computer.
It will open in a screen that looks like this:
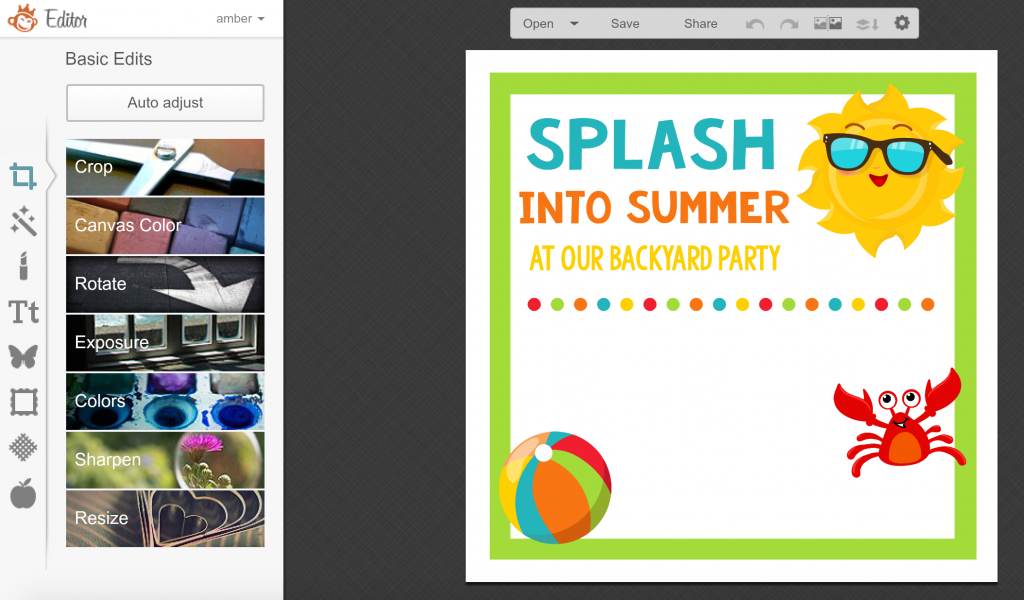
That’s your area to work in to do your editing. From the left menu bar, select the Tt icon in order to add text. A new text box will pop open and you can type what you want there. Then, on the left menu bar again, you will select your font. You can choose from PicMonkey’s font options or from your own that are on your computer already.
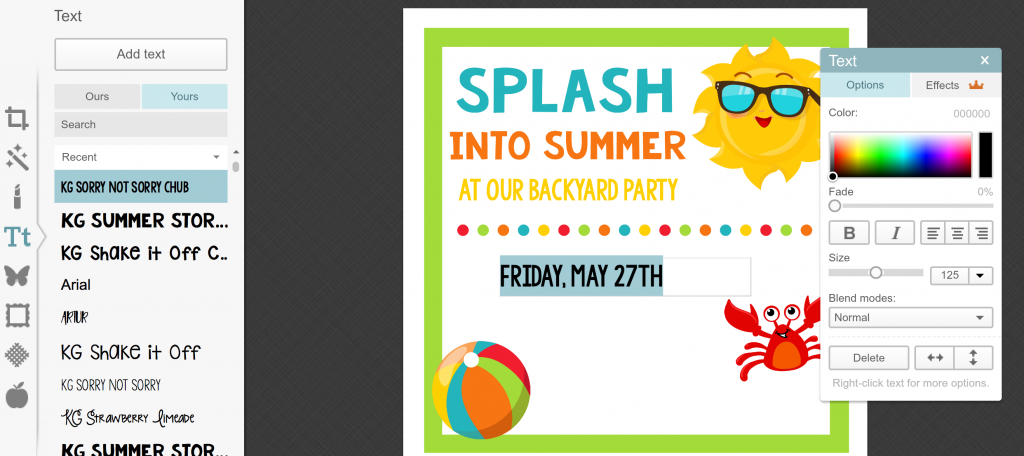
You’ll also see a popup box that allows you to change the size, add things like italics if you want and change the color.
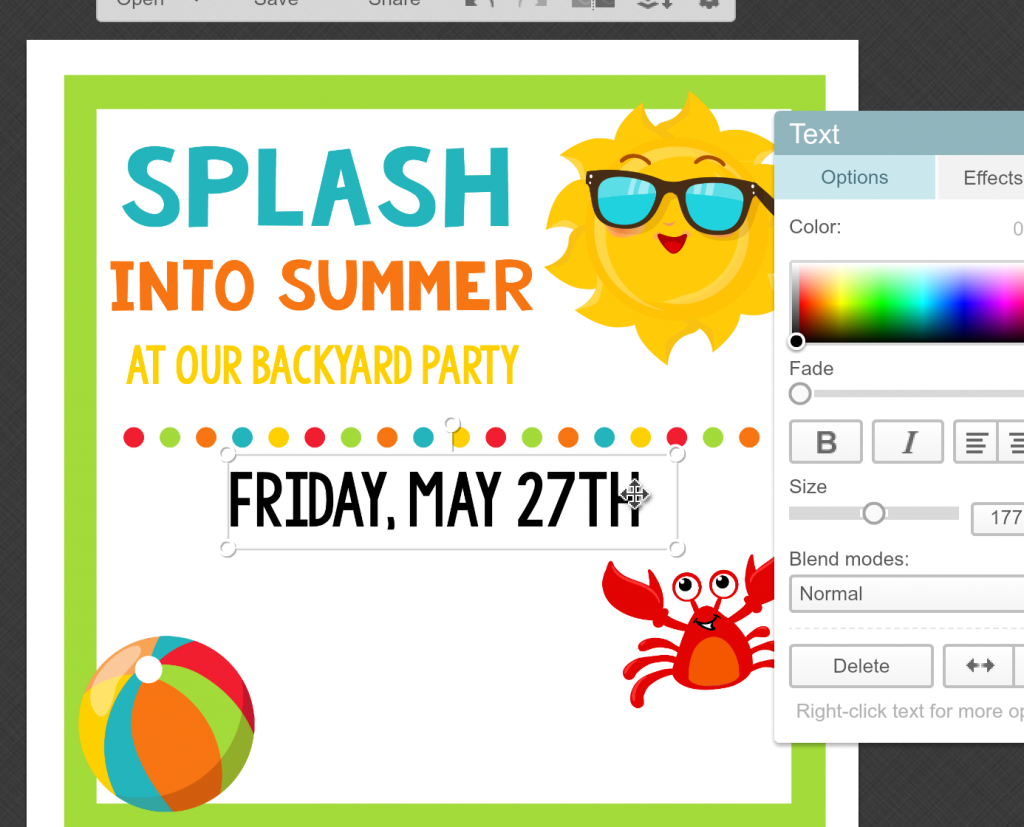
To move your text around, click on the actual text (see above) and then you can drag it to place it.
Then just add all your text. I usually do each line of text separately so that I can place it right where I want it.
One more thing to note-if you want to use an exact color from something else in your image, click on the color bar on the side of the text box:
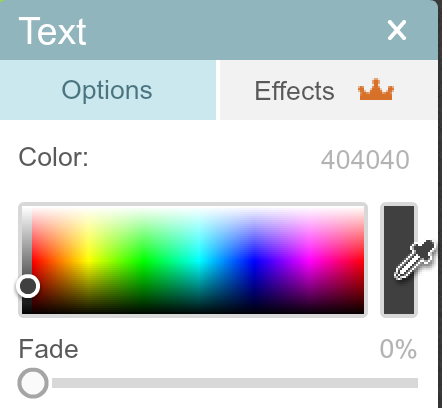
Then use that little dropper icon to grab the color you want. Hover over the color and click it with the dropper. 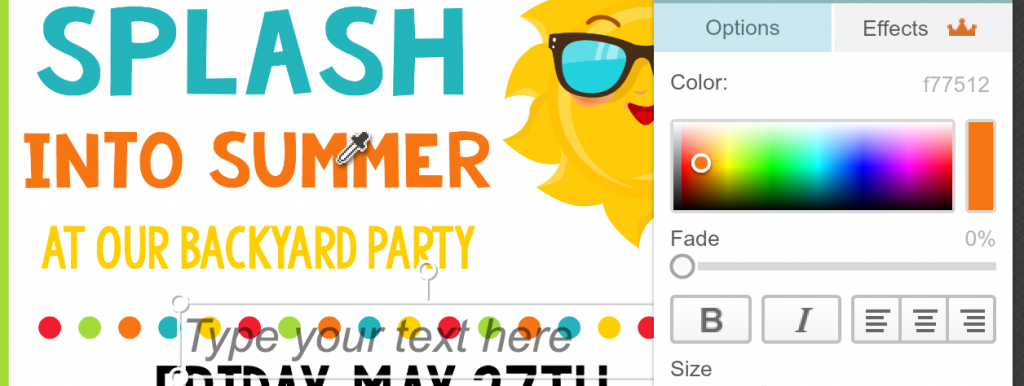
And make your invitations or tags your own!
Have FUN following this PicMonkey tutorial to make your own invitations!
You Might Also Like:


Karen says
I’m sure I’m missing something but I can’t find the link to the printable. I clicked on it but it brought me here.
Amber & Danetta says
This is just a tutorial to show how to edit printables. If you are looking for the summer printables they are here: http://fun-squared.com/splash-into-summer-party-invitations-printables/
Karen says
I didn’t see a download for the invitation so it will work if I right click?
Mary Reigel says
Every time I click on a link to download the labels that you are supposed to be able to print your own message on, it brings me back to a tutorial. Can you please help me? I would love to make these for me grandchildren. Thank you!!!
Amber & Danetta says
Which labels do you mean?
Mary Reigel says
I was looking for the blank tags that are customizable but I found them! Sorry for the confusion and thank you for your reply <3
Julie says
Where did you end up finding them!! I still can’t. I would love the square tags with the lemons on them. Please help! Thank you.
Mary Reigel says
What I did was to find the tag that I wanted, then I right clicked on it and saved it to my computer. Hope this helps! 🙂