A Peek at the Fun: Whether it’s for a birthday, a holiday or some other fun celebration, a candy cake is a fun gift for anyone! Fill several cake layers with bright colored candies to make a festive and fun cake that the recipient can eat!
Sometimes you need a creative idea for a birthday or special occasion-something outside the normal. Maybe for the person who has everything or something to surprise a friend on a special day.
This candy cake is fun to put together and turns out fabulous! Who wouldn’t want to receive one of these!
And you can even customize it for anyone and add the kind of candy they love!
Kids love this as a birthday gift (trust me-I’ve given them to my kids. Huge hit!)
This candy cake would also work great as a thank you gift or something fun for teacher appreciation.
What would you use it for?
Also, I’ve got a chocolate candy cake version now too if chocolate is more your thing!
Candy Cake Ideas & Tutorial:
This is pretty straightforward to put together this candy cake. Here’s how.
Supplies Needed:
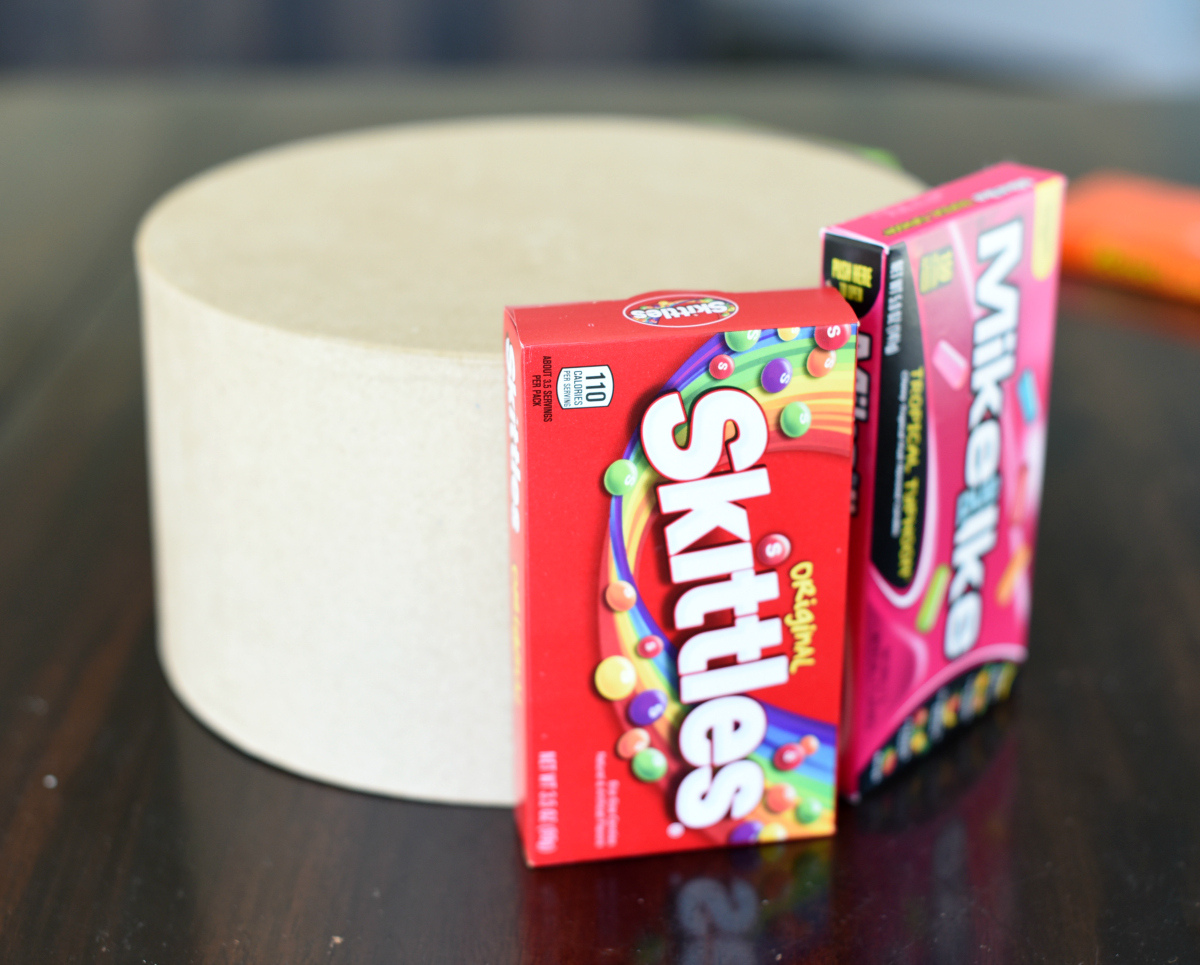
- 2 Hat Boxes in different sizes (You can get them at the craft store.)
- Candy of all varieties-you’ll need 7-8 large boxes of candy around the bottom level, about 20 Airheads for the next level, a bag of Tootsie Pops, lollipops, and filler candy (I used fruity Tootsie Rolls)
- Hot Glue
- Ribbon
- Floral foam in a circle to fit into your smaller hat box
How to Assemble Your Candy Cake:
Start out with your hat boxes. You won’t need the lids so you can toss those aside. Then turn them upside down to work with:
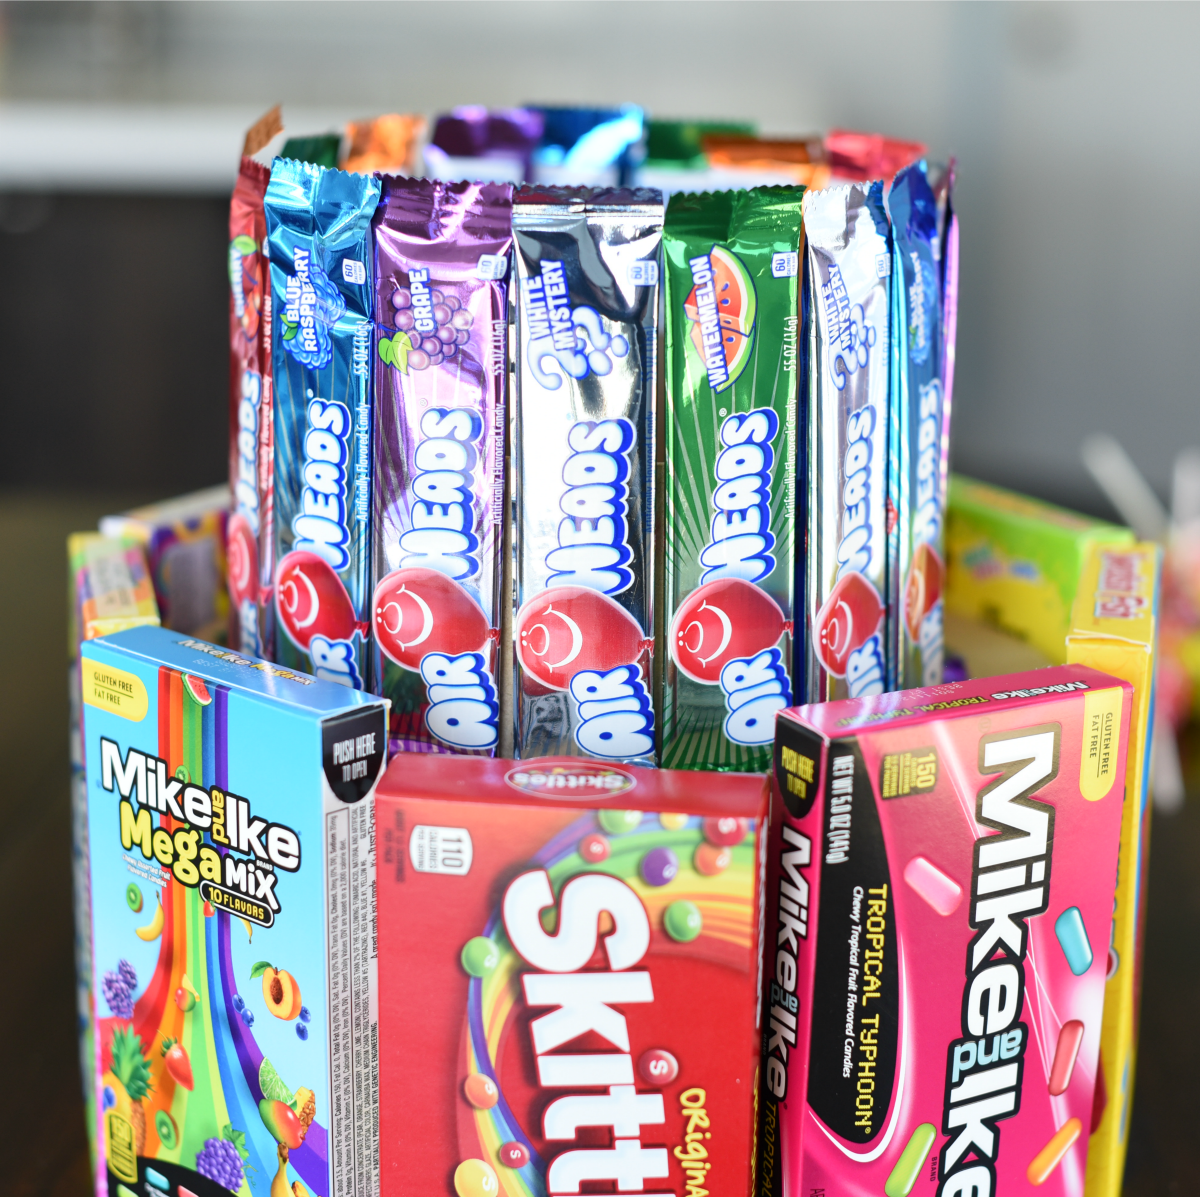
Begin hot gluing candy around the bottom layer (your larger hat box) so that the bottom of the candy box is flush with the bottom (which is actually the top since you have it upside down) of your hat box.
Glue all the way around.
Do the same thing with the candy for the second tier but make sure that your box is right side up so that the opening faces up. You will fill this later.
I used Airheads and they worked great but you can use anything you want. If you choose chocolate, just be careful not to melt it with the hot glue.
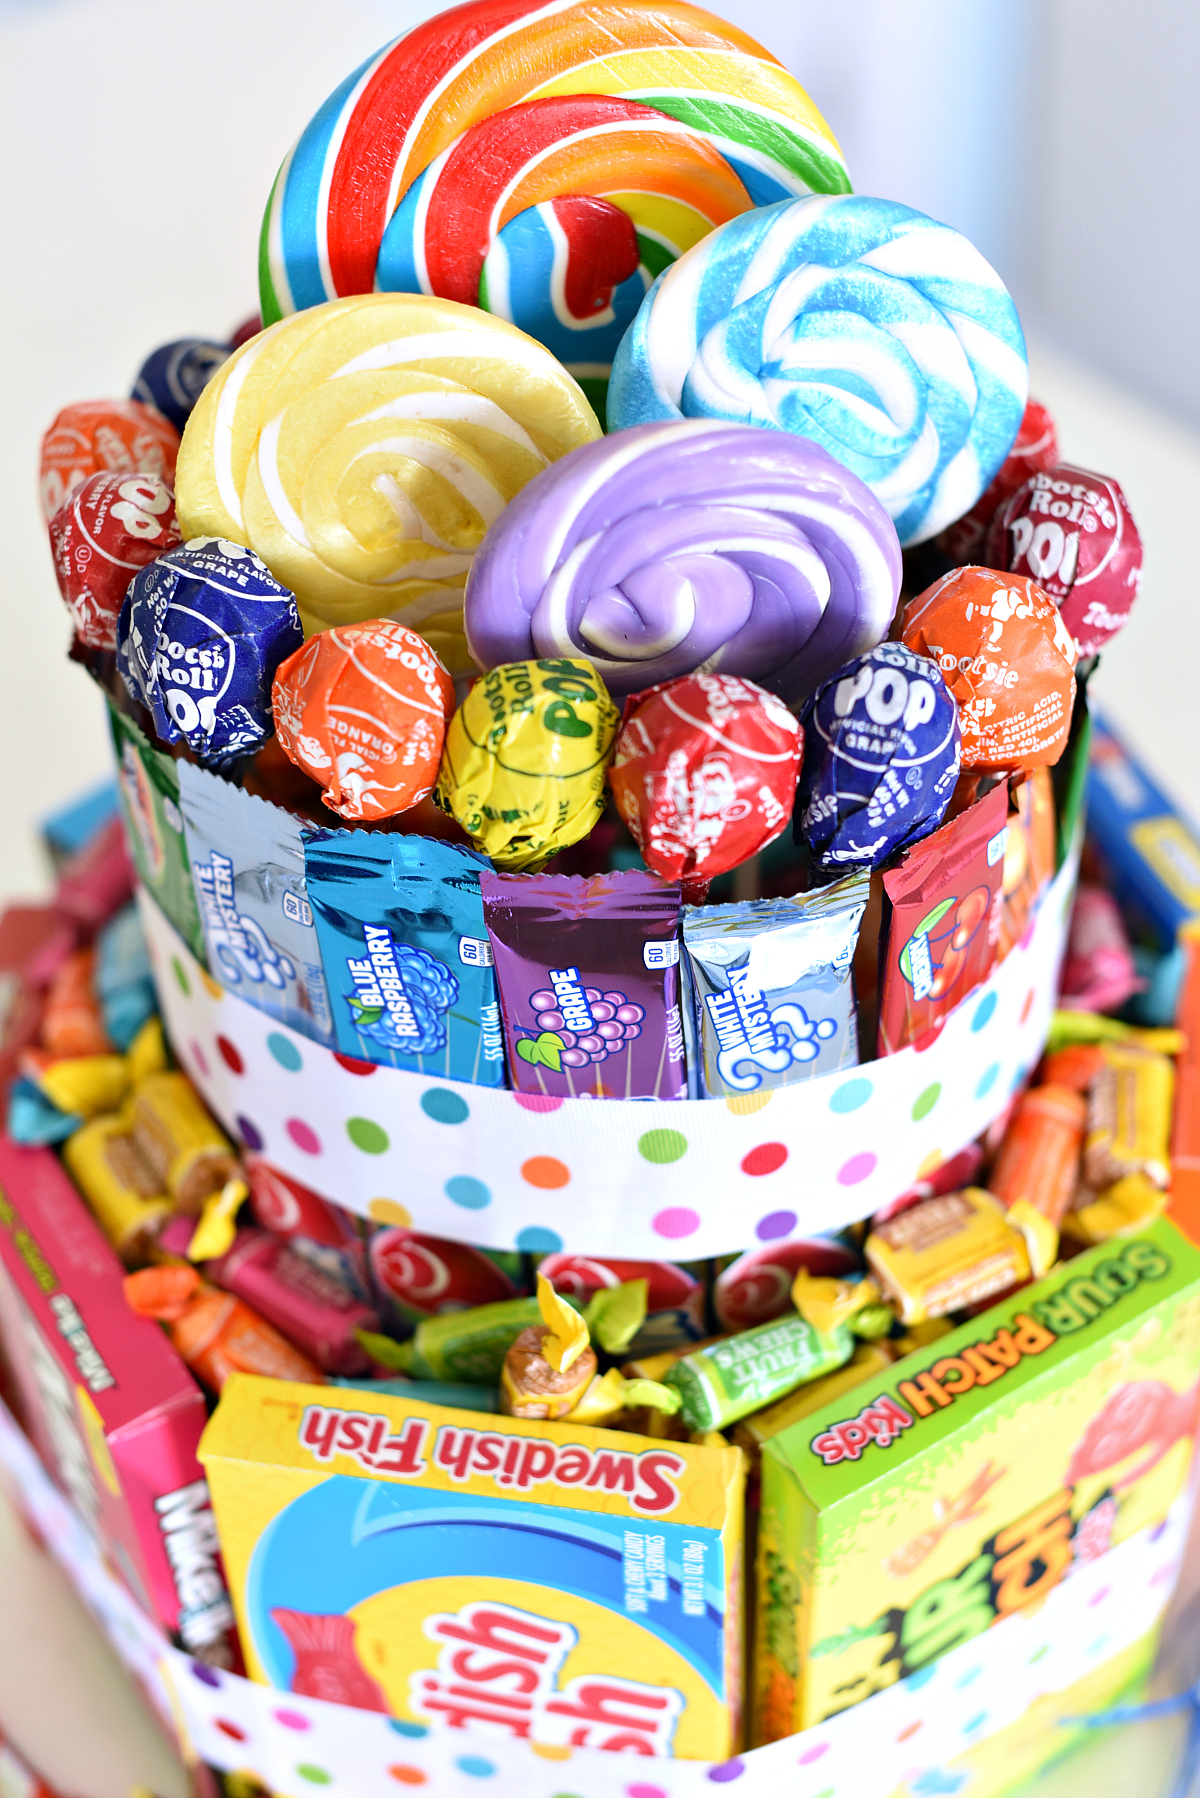
After adding the Airheads I glued the Tootsie Pops to the inside of the smaller hat box all along the edge, behind the Airheads.
Place the second tier on top of the first. Hot glue it in place if you’d like to keep it stable.
Then I placed the floral foam down into the box and added the lollipops but sticking the sticks in there.
Finish it off by putting your filler candy down into the open spots-between the two layers and in the top around the lollipops.
How fun does that turn out?! Does it make you want to eat all the candy?
Have FUN making this candy cake!
You Might Also Like:

Kristi Ganey says
I love this idea, especially for my son who is allergic to cake.
Kathy says
Approximately what size are the hat boxes?
Amber & Danetta says
Sorry, we should have put that in the instructions-7 inches and 9 inches.
Jackie Towson says
Where do you get the boxes?
Danetta says
I got them at our local craft store, but I have also seen them on Amazon. They even have square ones which would be super cute.
TR says
How deep are the boxes? Can they be 2″ or must they be deeper?
If I leave the lid on the top tier, and I just stick the lollipops in a hole or do I have to use foam?
Amber & Danetta says
Ours were deeper but you can use whatever you want!
paris says
it was so easy.
Donna says
Perfect idea for Xmas, kids decided we were making gifts this year. Fun! Not… This will cut one out ox
Danetta says
I feel your pain with the homemade gifts! 🙂 It always sounds better in theory. Good luck.
Molly bray says
How deep where the boxes you used?
Danetta says
Sorry, I didn’t get the measurements on the boxes I used. From the pics you can see the boxes are just slightly shorter than the candy boxes and Air Heads. I’d love to see your final cake, they are so fun to make.
Tex Hooper says
Gluing popsicles together sounds appealing. I want to get a candy box each month. I’ll have to look for subscriptions.